
swiftでは、cocoapodsというライブラリの追加・バージョン管理をするツールを使って
アプリに必要な機能を随時そろえていきます。
これを上手く使うことでライブラリの追加/削除をする時間を削減することができ、
効率良く開発ができるようになります。
cocoapodsをインストールするにはhomebrewが必要になるので、ターミナルを立ち上げて
homebrewをインストールをします。
https://brew.sh/index_jaから以下の文をコピペしてターミナルにてインストールをします。
/bin/bash -c “$(curl -fsSL https://raw.githubusercontent.com/Homebrew/install/HEAD/install.sh)”
インストールできたか確認するにはbrew –versionを入力。
確認ができたら、早速brew install cocoapodsでcocoapodsをインストール
インストールができたらコマンドを使ってプロジェクトに移動します。例:cd sampleApp
※この記事ではcd workSpaces/sampleApp0809とする
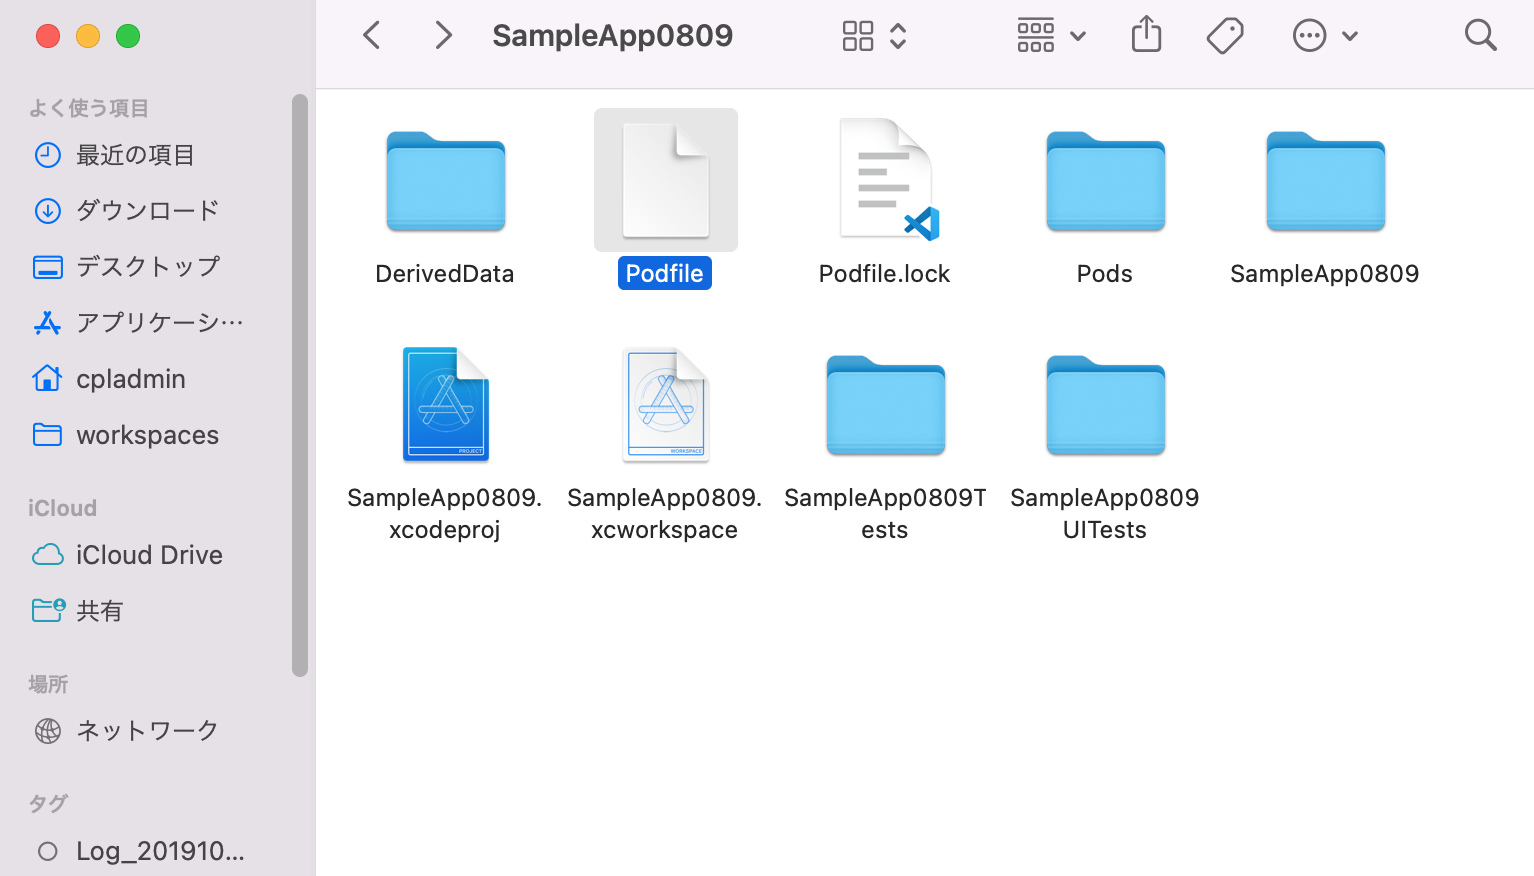
sampleApp0809ディレクトリに移動後、pod initでpodfileを生成します。
成功するとsampleApp0809の直下にpodfileが生成されます。
このpodfileの中に追加したいライブラリを書いていきます。
今回は”Alamofire”と”SwiftyJSON”というライブラリをお手本として追加します。
pod fileをどのエディタでもいいので適当に開きます。すると、デフォルトで以下の
ようになっていると思います。
# Uncomment the next line to define a global platform for your project
# platform :ios, '9.0'

target 'SampleApp0809' do
  # Comment the next line if you don't want to use dynamic frameworks
  use_frameworks!

  # Pods for SampleApp0809

  target 'SampleApp0809Tests' do
    inherit! :search_paths
    # Pods for testing
  end

  target 'SampleApp0809UITests' do
    # Pods for testing
  end
8行目のPods for SampleApp0809の下にpod “Alamofire”pod “SwiftyJSON”と書いていきます。
# Uncomment the next line to define a global platform for your project
# platform :ios, '9.0'

target 'SampleApp0809' do
  # Comment the next line if you don't want to use dynamic frameworks
  use_frameworks!

  # Pods for SampleApp0809
  pod "Alamofire"
  pod "SwiftyJSON"
  target 'SampleApp0809Tests' do
    inherit! :search_paths
    # Pods for testing
  end

  target 'SampleApp0809UITests' do
    # Pods for testing
  end
後はcocoapodで指定したライブラリをpod installで追加します。
Installing Alamofire (5.6.2)
Installing SwiftyJSON (5.0.1)
Generating Pods project
Integrating client project
Pod installation complete! There are 2 dependencies from the Podfile and 2 total pods installed.
と出れば成功です。2回目以降ライブラリを追加したいはpod installではなくpod update
を使って追加していく流れになります。(pod installはpodfileを生成後初めてライブラリを追加する時だけ)